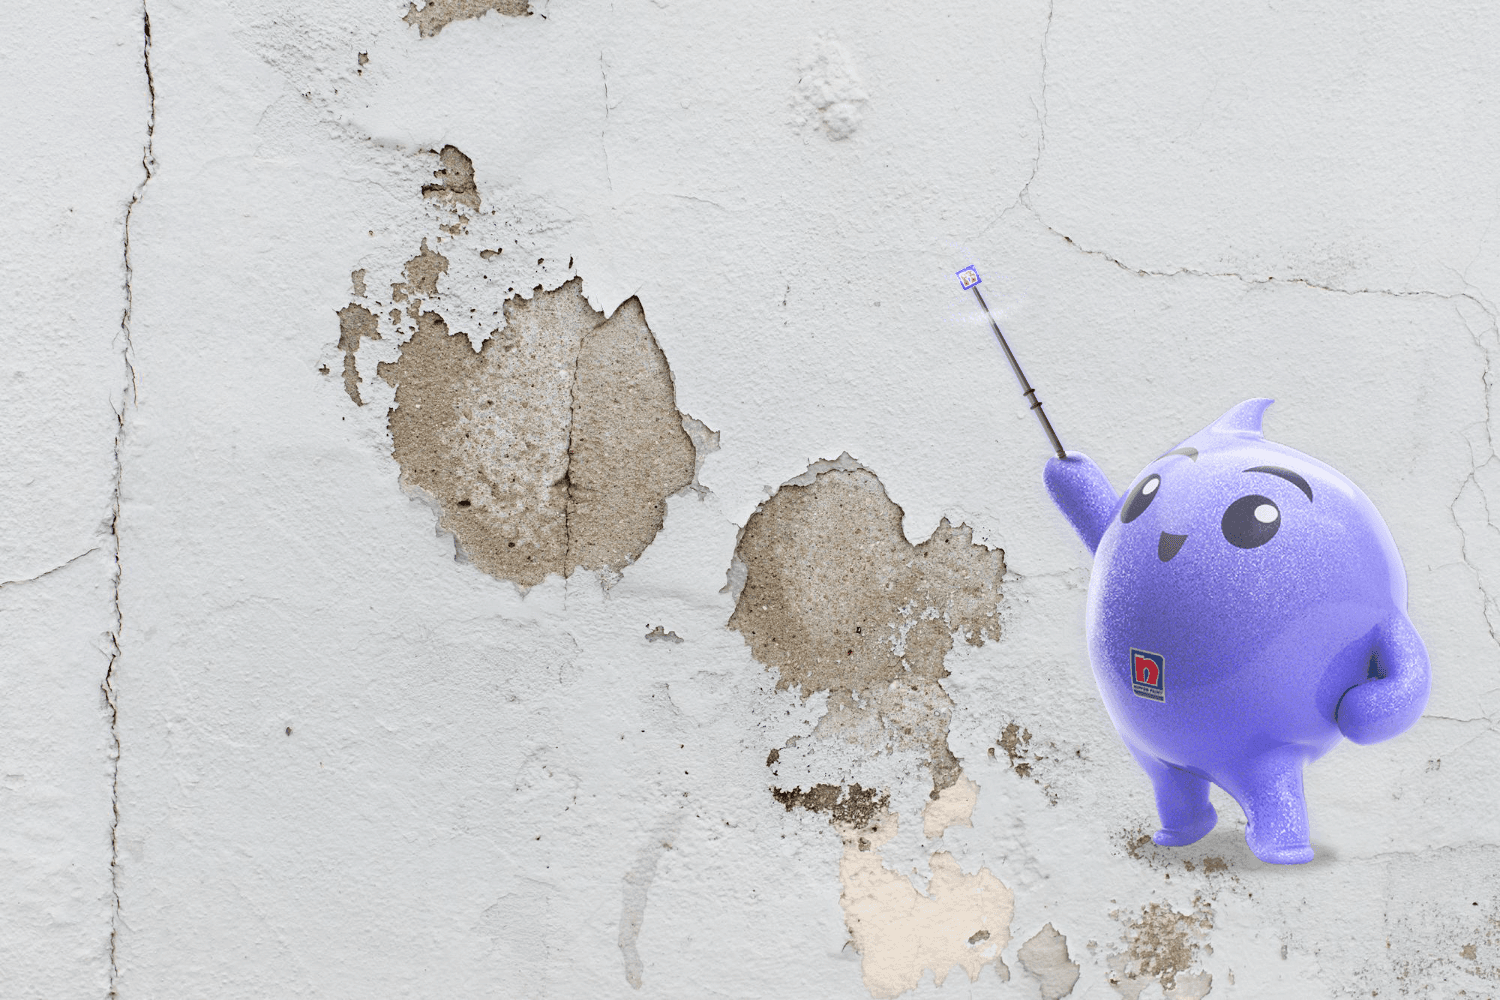
How to Prevent Dampness and Mould with the Right Paint
Dampness is a silent villain who reveals himself in the end and creates the perfect breeding ground for mold. These fungi are not only harmful to your walls but can also mess with your health, causing allergies, respiratory issues, and more.


Hey there, home enthusiasts! It’s your friendly neighborhood Blobby from Neo by Nippon. Today, I’m here to talk about an uninvited guest who sneaks into homes unannounced: dampness and mold. Yuck! But don’t worry together, we’ll learn how to banish them with the magic of the right paints and finishes. Let’s dive in!
Why Dampness and Mold Are a Big No-No
Dampness is a silent villain who reveals himself in the end and creates the perfect breeding ground for mold. These fungi are not only harmful to your walls but can also mess with your health, causing allergies, respiratory issues, and more.
But with the right anti-mould paints and moisture-resistant finishes, you can transform your home into a place that keeps dampness and mold at bay.
Understanding the Basics of Dampness and Mold
Before we jump into solutions, let’s understand the problem:
1. What Causes Dampness?
- Leaky roofs, walls, or plumbing.
- Poor ventilation in bathrooms and kitchens.
- Humid weather, especially in coastal areas.
2. How Mold Forms Mold thrives on moisture and organic materials, such as wood or drywall. If your walls are damp, mold will happily make itself at home.
Choosing the Right Paint to Prevent Dampness and Mold
The right paint is your superhero in this battle. Here’s how to pick the perfect one:
1. Go for Anti-Mold Paints
Anti-mold paints contain special additives that actively resist mold and mildew growth. They’re like tiny warriors on your walls, fighting off the nasty stuff while keeping your home fresh.
2. Opt for Moisture-Resistant Finishes Moisture-resistant paints are formulated to repel water and prevent dampness from seeping through. These are perfect for high-moisture areas like bathrooms, kitchens, and basements.
3. Look for Breathable Paints Breathable paints allow trapped moisture in the walls to escape, reducing the chances of dampness buildup.
Tips to Apply Anti-Mold Paint Like a Pro
Once you’ve chosen the right paint, it’s time to get to work. Here are my top tips for a mold-free finish:
1. Prep Your Surface Scrape off any existing mold using a brush or scraper. Wash the surface with a solution of water and mild bleach. Let it dry completely before painting.
2. Prime It Right Use a primer designed to block moisture and prevent stains. This creates a solid base for your anti-mold paint to work its magic.
3. Apply in Layers Two coats of anti-mold paint are usually ideal. Make sure the first coat is completely dry before applying the second one.
Book an appointment with us now to get expert advice!
Stay tuned for more tips from yours truly, Blobby!
