
How To Touch Up Scratches/ Paint Chips on Wall? | How to get scratch marks off walls?

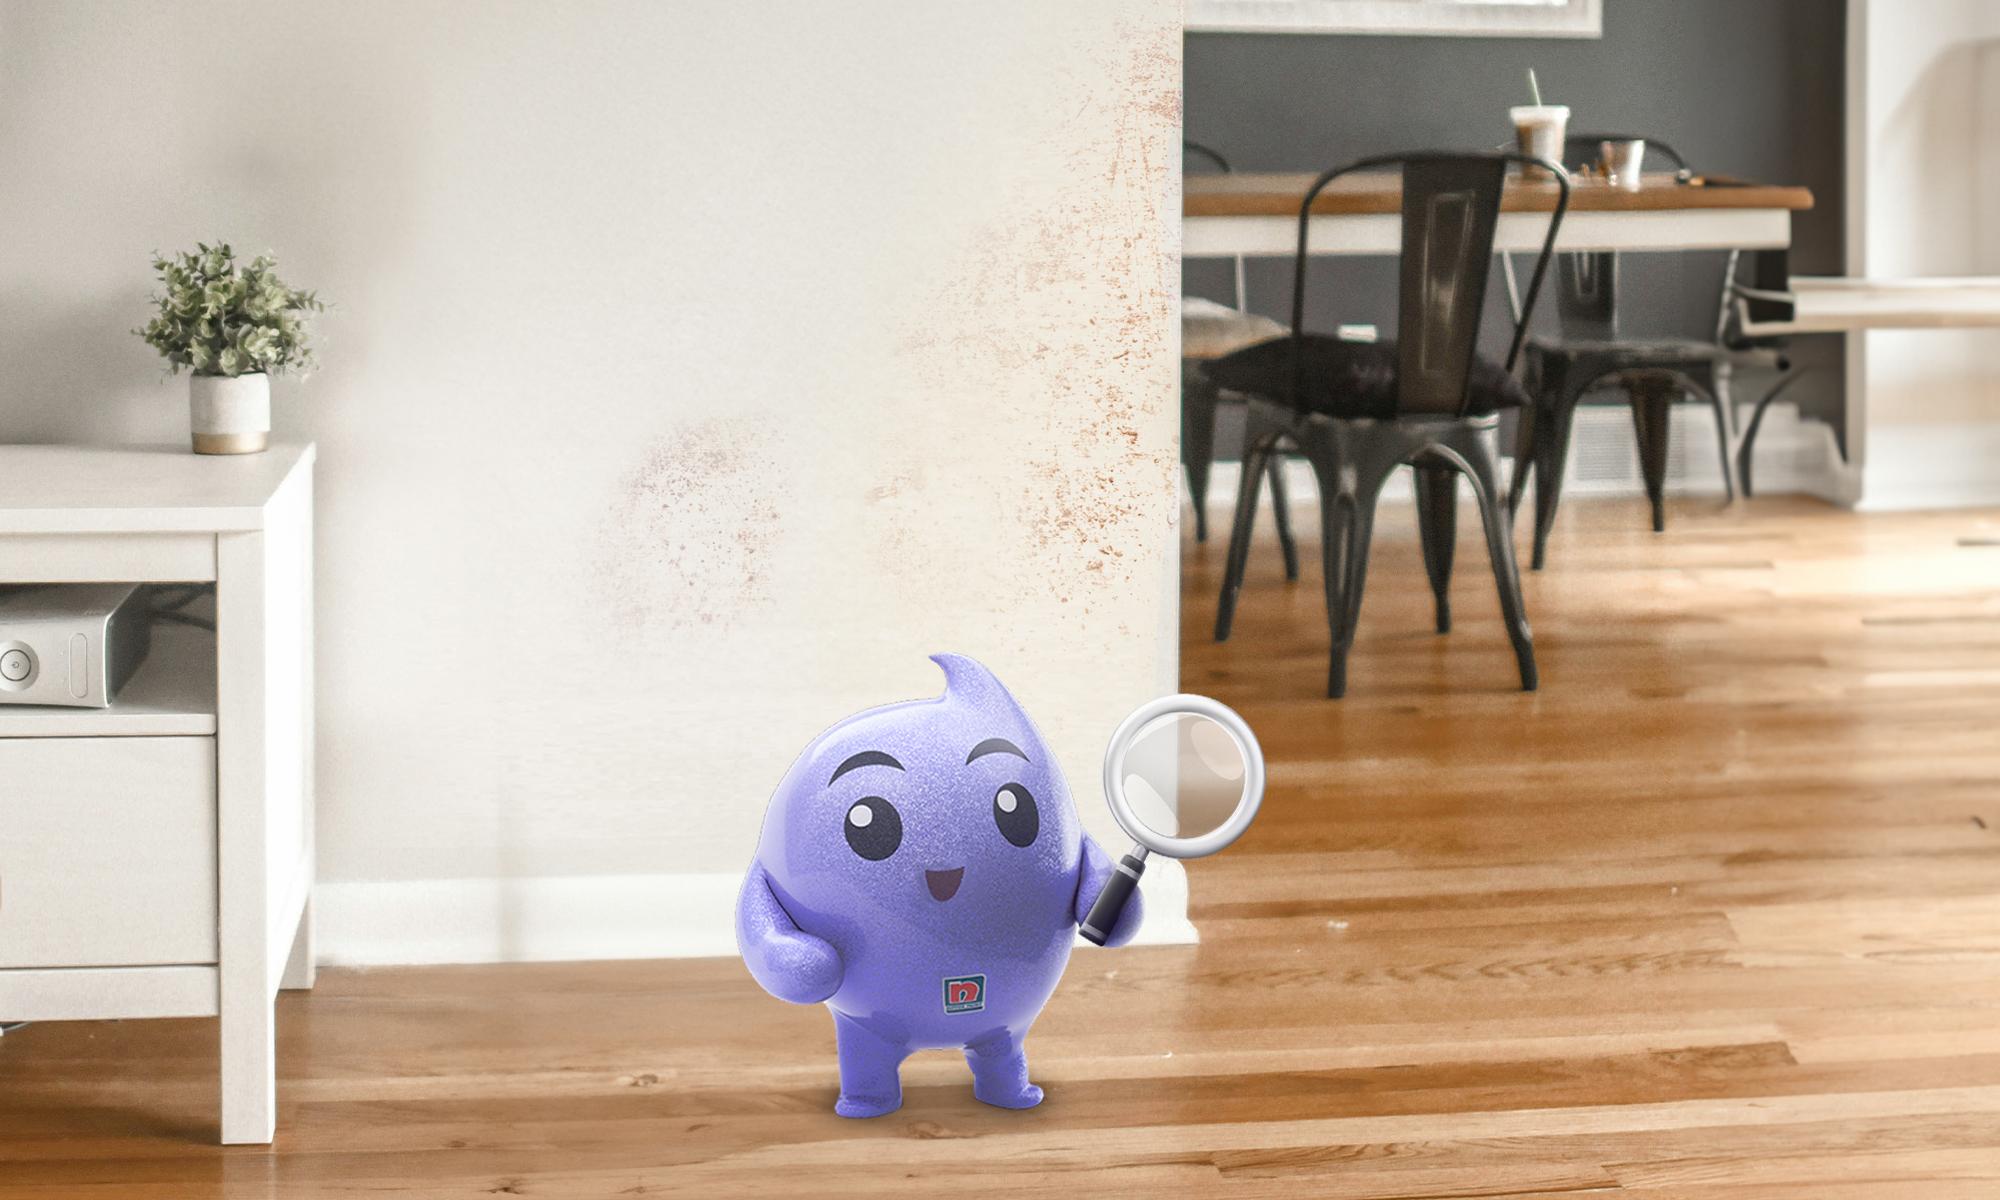
Hello, there home lovers! It's your friendly neighborhood mascot Blobby from Neo by Nippon Paint. I know how hard it is to have annoying scratches and marks on your walls but I'm here to help you touch up those without breaking a sweat. With just a few simple steps, you can now have your walls looking as good as new. Let's dive in!
1. Identifying the Type of Paint Finish on the Wall
Before you begin the touch-up process, it's essential to identify the type of paint finish used on your walls. Matt paint has a smooth, non-reflective surface, while semi-gloss and high-gloss paints are more reflective and have a shiny finish. Once you've identified the finish of the paint, you can proceed with the touch-up process accordingly.
2. Preparing the surface
Now that you know what you're working with, it's time to get the surface prepped and ready for paint. Here's what you need to do:
● Cleaning: Remove any dirt, dust, or grease that might prevent the paint from sticking properly. Remove any wall fixtures
● Sanding: Mildly sand the damaged area with sandpaper. This smooths will repair any rough edges caused by the scratch and creates a better surface for the touch-up paint to stick to. Be gentle and avoid sanding too aggressively, as this can damage the surrounding paint.
● Dust Removal: After sanding, remove any dust particles that might have accumulated. A dust-free surface ensures a smooth and flawless paint finish.
3. Choosing the Right Paint:
Now comes the fun part - choosing the right paint! Color matching is crucial for achieving a seamless result, so here's what you need to do:
If you have leftover paint in good condition from the original project, use it! This guarantees a perfect match. If not, you can take a sample of the existing paint to the store for colour matching. Many stores offer computerized colour-matching services that can find the closest match to your existing paint. Before you apply the touch-up paint, make sure to test it in a small area to ensure the color and sheen match perfectly.
4. Applying the Touch-Up Paint: The Final Touches
● Use a small brush or roller to apply the paint, preferably with finishing rollers, making sure to blend the edges seamlessly with the surrounding area.
● Apply thin, even coats, and allow each coat to dry completely before applying the next one.
Once you're happy with the hiding and finish, step back and admire your handwork! Your walls should look as good as new. Stay tuned for more tips from yours truly, Blobby!